


Table of Contents
Why Upgrade to a Carbon Fiber Diffuser?
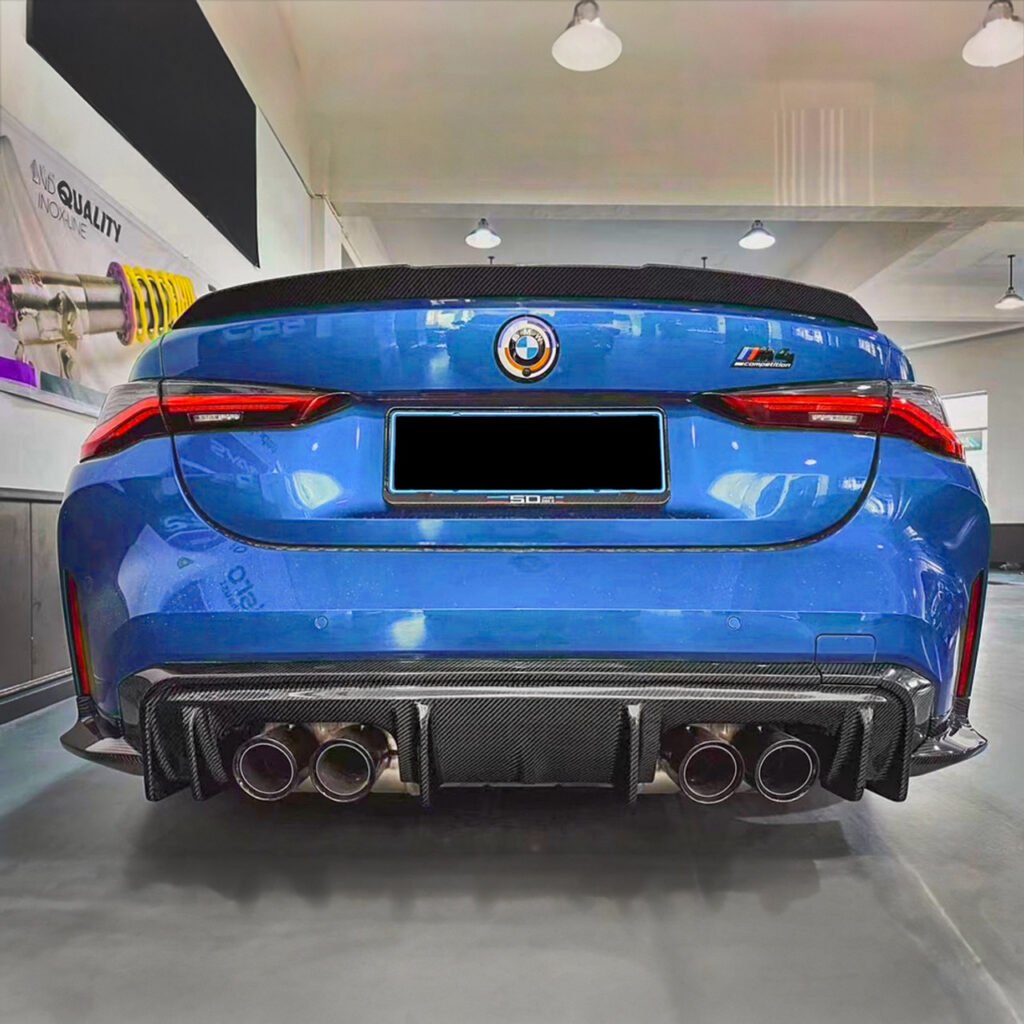
BMW M3 Carbon Fiber Diffuser Installation is one of the most impactful upgrades you can make to enhance both performance and visual appeal. A carbon fiber diffuser reduces drag, increases downforce, and gives your M3 an aggressive, race-inspired look. This guide walks you through the entire installation process, step-by-step.
Tools & Materials for BMW M3 Carbon Fiber Diffuser Installation
Before you start the installation, gather these essential tools:
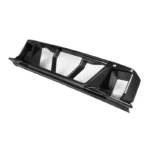
- Carbon Fiber Diffuser
- Trim removal tool
- Ratchet wrench & socket set
- Plastic pry tool
- Double-sided automotive adhesive (optional)
- Microfiber cloth
- Rubbing alcohol or mild cleaner
- Jack and jack stands (if needed)
These tools will ensure a smooth and damage-free installation process.
Want a diffuser that fits perfectly? Check our M3 Diffuser Collection before starting the installation.
Step-by-Step BMW M3 Carbon Fiber Diffuser Installation
Step 1: Prepare Your Workspace
- Park your BMW M3 on a level surface and engage the parking brake.
- If necessary, lift the rear of the car using a jack and jack stands for better access.
- Use a microfiber cloth and rubbing alcohol to clean the rear bumper and remove any dirt or debris.
Step 2: Remove the Stock Diffuser
- Locate the clips and screws holding the factory diffuser in place.
- Use a ratchet wrench to remove the screws along the bottom edge of the diffuser.
- Carefully use a trim removal tool or plastic pry tool to release the retaining clips.
- Gently pull the stock diffuser away from the bumper to avoid damaging any mounting points.
Step 3: Test Fit the Carbon Fiber Diffuser
Before securing the new diffuser, test fit it to ensure proper alignment with the bumper’s mounting points.
- If necessary, make minor adjustments for a precise fit.
- Check that all clips and screw holes align correctly.
Step 4: Install the Carbon Fiber Diffuser
- Align the carbon fiber diffuser with the mounting points on your BMW M3’s rear bumper.
- Press the diffuser into place, ensuring all clips snap securely.
- Reinstall the screws using a ratchet wrench for added stability.
- For extra reinforcement, apply double-sided automotive adhesive along the edges.
Step 5: Final Touches & Inspection
- Ensure the diffuser is flush with the bumper and secured properly.
- Wipe away any fingerprints or smudges using a microfiber cloth.
- Step back and admire your BMW M3’s aggressive new look!
Why Choose a Carbon Fiber Diffuser for Your BMW M3
Lightweight & Durable: Carbon fiber is stronger and lighter than plastic or metal alternatives.
Improved Aerodynamics: Enhances downforce and reduces drag for better performance.
Enhanced Rear Styling: Gives your BMW M3 a more aggressive, track-inspired look.
Easy DIY Installation: No professional tools or expertise required.
Enhance Your BMW M3 Beyond the Diffuser Upgrade
If you’re installing a carbon fiber diffuser, consider pairing it with these additional upgrades:
- BMW M3 Carbon Fiber Spoiler – Boost Aerodynamics
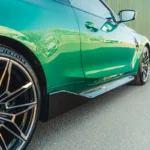
- BMW Carbon Fiber Side Skirts – Achieve a More Aggressive Stance
Each upgrade enhances performance, styling, and functionality, giving your BMW M3 a distinctive edge.
BMW M3 Carbon Fiber Diffuser Installation FAQs
Q: How long does it take to install a carbon fiber diffuser?
A: Installation typically takes 30-45 minutes with basic tools.
Q: Do I need to remove the bumper to install the diffuser?
A: No, you can install it without removing the bumper by carefully detaching the stock diffuser.
Q: Will a carbon fiber diffuser fit all BMW M3 models?
A: Most BMW M3 F80, G80, and E92 models have compatible diffuser options.
Q: How do I clean and maintain my carbon fiber diffuser?
A: Use a mild cleaner and microfiber cloth to remove dirt and maintain the glossy finish.
Q: Can I install a diffuser without screws?
A: While clips and adhesive can hold it, screws provide a more secure and long-lasting fit.